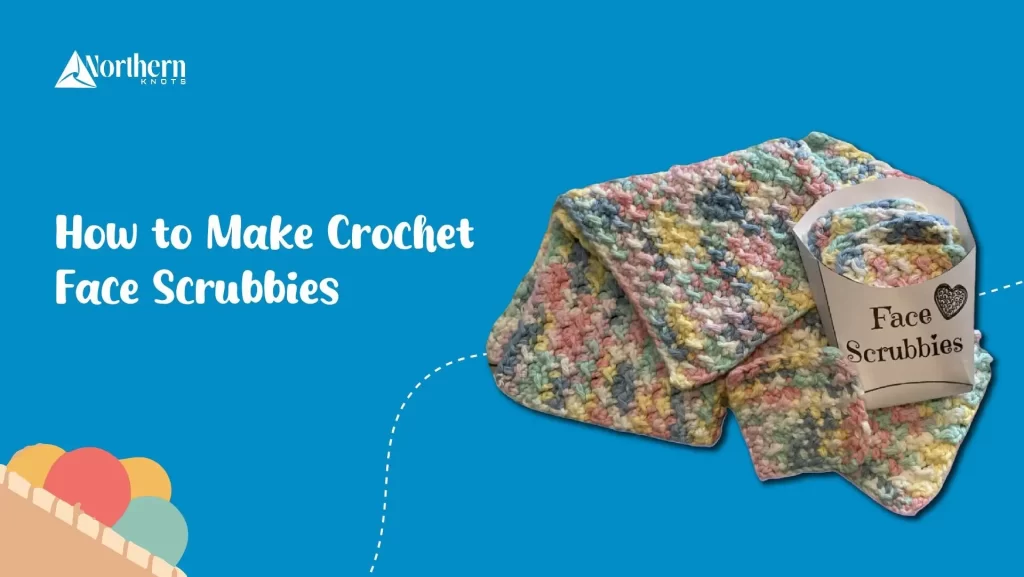
Dreading the constant disposal of cotton pads every time you cleanse your face? Thinking about making a change for the better of both the planet and your skin? Try crochet face scrubbies to achieve that double success. These soft, eco-friendly, reusable pads are super-duper easy to make and will without any doubt, totally, your skincare regimen. Let’s look at some of the reasons why crochet face scrubbies should be your next pick for your next skincare haul. The Benefits of Crochet Face Scrubbies Before we get into the how-to, let’s talk about why these face scrubbies are a game-changer for your beauty routine. Natural Choice for Disposables Disposable cotton pads are a real nightmare for the environment. They always blend in with other waste products and are very difficult to dispose of properly. The best part about the crochet face scrubbies is that they are all-natural because they are derived from 100% cotton yarn that is both biodegradable and reusable. Reusable and Eco-friendly A crochet face scrubbie can be reused for even twenty washes before you have to throw it away. You don’t have to shop for new cotton pads every month. Both the environment and your pocket will be better off as a result of buying these scrubbies. They may go well for a few months or even a year. Best for All Skin Types Are you dealing with sensitive skin issues? Don’t worry! The crochet face scrubbies are nice, soft, and immune to any kind of discomfort. They are made of 100% cotton yarn, which means that they are non-allergic and soothing to every skin type. Whether you are using them for makeup removal or simply cleansing, your skin will adore these little guys! A Perfect Dream Gift Want a present that is as unique as it is adorable? You can make scrubbies for your face with crochet. It is easy to personalize, eco-friendly, and it is nice to make. Whether it is for a birthday, holiday, or just because, these scrubbies are a thoughtful, planet-friendly gift that anyone would love to receive. Seriously, who will not be happy to receive a handmade eco-friendly gift? What Materials Would I Need for My Crochet Scrubbies This is a checklist of what you should have to make face scrubbies of your own in crochet. You do not need a huge shopping list for that. Don’t worry! 100% Cotton Yarn This is important to your success. It is very soft, absorbent, and gentle on your skin. Moreover, it is strong enough to keep up with washing cycles for a long time. Crochet Hook The average size is 4mm hook for the face scrubbies, but this depends on the fluffiness of your yarn, the size might differ. Scissors & Yarn Needle You will need scissors to cut the yarn, and a yarn needle to tuck in those ends when you are done. Pattern or Stitch Guide You can follow a free pattern or create your own design. Either way, you will be crocheting like a pro in no time. Try to find organic or recycled cotton yarn if you want an even better eco-friendly alternative! How to Make Crochet Face Scrubbies Let’s get started! Here is a beginner-friendly, no-fuss guide to making your own crochet face scrubbies. Step 1: Start with a Magic Ring Start by making a magic ring (also called a loop). This is the base of your scrubbie and lets you tighten the center for a clean finish. Step 2: Crochet a Chain Form a circle with 3 chain stitches, then crochet a double crochet stitch in the middle. You need to aim for 8-10 stitches to keep the base even and neat. Step 3: Join the Round and Keep Going Join your round with a slip stitch and keep crocheting in a circle. Keep going until your scrubbie reaches the size you like. Need it bigger? Add more stitches! Smaller? Just subtract a few. Step 4: Finish and Secure the Yarn Once your scrubbie is the right size, cut the yarn and tie it off. Use a yarn needle to tuck in the loose ends, and if you want to add a little extra flair, finish it with a cute border! Best Crochet Patterns for Face Scrubbies Want to get creative? Here are a few fun crochet patterns to try: Simple Round Pattern A classic, soft, and beginner-friendly round scrubbie for everyday use. Textured Patterns Try ribbed or shell stitches for added texture and extra exfoliation. Fun Shapes Feeling adventurous? Go wild with roses, hexagons, or any other fun shapes you can dream up! Why Make Your Own Crochet Face Scrubbies? Sure, you can buy crochet face scrubbies online, but making them yourself comes with its own set of perks. How to Care for Your Crochet Face Scrubbies When your scrubbies are prepared and arranged, the key is to keep them in the best condition as follows: Washing Instructions Soak your scrubbies in warm water with a mild soap. You can use a machine to wash them, but hand washing is a better choice if you want them to maintain their shape. Drying Tips Place your scrubbies on the flat surface, free from deformations to dry them. Avoid the tumble dryer. It compresses the cotton fibers to disarrange their shape. Let the air dry it! Storage The best place for your scrubbies is to be kept in a dry, well-ventilated place, such as a tiny and cute basket right there by your sink. This way, they should be ready to be used all the time. Final Thoughts Crochet face scrubbies are an effortless, artful, and ecological way to make your skincare routine more effective. They are soft to your skin, to the budget, and can be customized to your personal style. Also, they are an excellent gift! For those who are inexperienced in crochet and those who have been doing it for a long time, this project is interesting, fulfilling, and of course, eco-friendly. So, get the
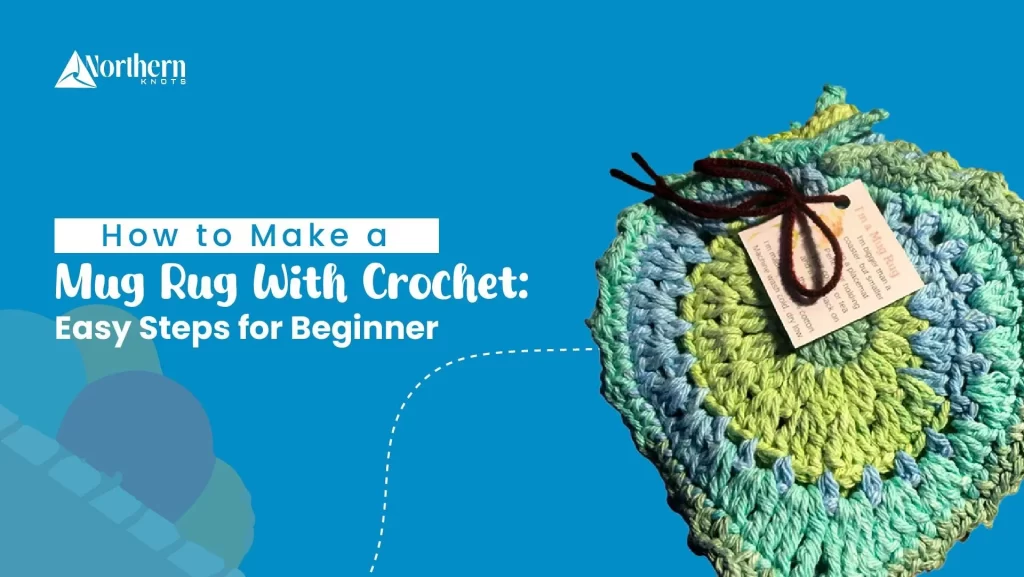
Don’t we all sometimes feel like the winters are just not going, but you feel the spring in the air day by day? This is where people like to make new things to welcome the new season. And that is actually a good idea to get your home ready with a handmade crochet mug rug. If you are a crochet lover and love knitting, one of the best things you can do with your cotton yarn is make coasters and mug rugs with a seasonal touch. Whether you want to crochet a mug coaster, a mug rug, or a flat stash buster, these free mug rug crochet patterns will equip you with easy steps to start working on your project. Why a Mug Rug? Everyone can agree that coasters are great, but sometimes we have bigger cups, bottles, or other items that are too big to fit on a coaster. This is where the mug rugs come in the light because they are more versatile and better! If you are someone who runs out of patience quickly, then crocheting these mug rugs won’t use much of your time and your yarn, and you will create these rugs in a jiffy! Introducing The Simple Mug Rug Pattern Mug rugs are such a fun and easy project to make for your home. They also make great gifts for your family members as a housewarming gift. The simple crochet mug rug pattern is a beginner-friendly pattern and is a great project for practicing the single crochet stitch with ‘easy to follow’ instructions. It uses a single crochet stitch to create this lovely texture. Tip: A set of four mug rugs tied up with a piece of yarn in a bow is such a sweet gift idea. Supplies You Will Need Let’s say you want a 4”x 6” mug rug size without the fringe, and with the fringe added, it is 4”x 8” approximately. Yarn: Category (4) Worsted Weight Yarn in any colour of your choosing. You will need one skein if you want to make a set of four. Hook: H-5.00mm Notions: Yarn needle, Scissors. Gauge: 13 sc x 14 screws = 4” x 4” square Abbreviations (uses US conventions) ch= chain st= stitch sc= single crochet dc=double crochet Pattern for the Simple Mug Rug Chain 14. Row 1: Dc in 2nd Chain from hook. Dc in each remaining chain (13 St) Row 2: Ch1 and turn work. Sc in first stitch and each stitch across (13 St) Row 3: Repeat Row 2 (13 St) Row 4: Ch2 and turn work. Dc in first stitch and each stitch across (13 St) Rows 5 – 8: Repeat Row 4 (13 St) Rows 9 – 10: Repeat Row 2 (13 St) Row 11: Repeat Row 4 (13 St) The Fringe (Optional) For the fringe, lay the mug rug on a flat surface with the right side facing up. Cut the strands that are 4 inches long. (You can also use a business card to wrap around it.) Place 12 fringes across each end of your mug rug. Wrap the yarn around the card 24 times, it will allow 2 strands of yarn for each fringe. Cut through all the strands of yarn, which are folded, put the ends together, and create the loop that can be threaded into the edge of the mug rug, and then make a knot on it. This creates a 4-stranded fringe. You can also use a hook to pull the loops through and then thread the long fringe through the loop and pull the tight to create the knot. If Knitting is Hard (just in case) Insert your crochet hook through a loop on the edge of the mug rug, starting from the back of the work. Next, grab the loop formed by folding the strands of yarn. Use a hook that is large enough to catch the yarn and pull it through the loop. Always pull the fringe loop through from the same direction so the knots all match Enlarge the loop you have pulled down so it is big enough to bring the long strands down and thread them through this loop. Pull the loop tight and move onto the next fringe. When you have the fringes done on each edge of your crochet cup mat, you can trim the fringe to the preferred length. This is up to your individual taste. Finishing On the Edges Common Mistakes to Avoid Tips for Maintaining Your Handmade Mug Rug To keep your crochet coasters in top shape, it’s important to wash them properly. Hand washing is usually the best method. Use mild detergent and warm water. Gently swish the coasters around and avoid wringing them out, as this can distort their shape. Rinse thoroughly and press out excess water with a towel. Lay them flat to dry, reshaping them as needed. Proper storage can extend the life of your crochet coasters. Store them flat in a dry place to prevent them from becoming misshapen. If you have multiple coasters, stack them neatly. You can also place a small weight on top to keep them flat. What Yarn is Best for Mug Rugs? For making mug rugs, it is best to use tough and easy-to-wash yarn like cotton or acrylic. These materials last well, even with lots of use and washing. Also, pick a yarn thickness that matches how you want your rug to feel and look. If you cannot find the right thickness, you can always crochet two or three strands of yarn together to get the thickness you want. How Big Are Mug Rugs? Mug rugs come in different sizes, but they are usually smaller than placemats and bigger than coasters. They can be about 4 inches by 6 inches (10 cm by 15 cm) to 8 inches by 10 inches (20 cm by 25 cm), but it depends on what you like and what you are using them for. Some people like smaller ones because they are
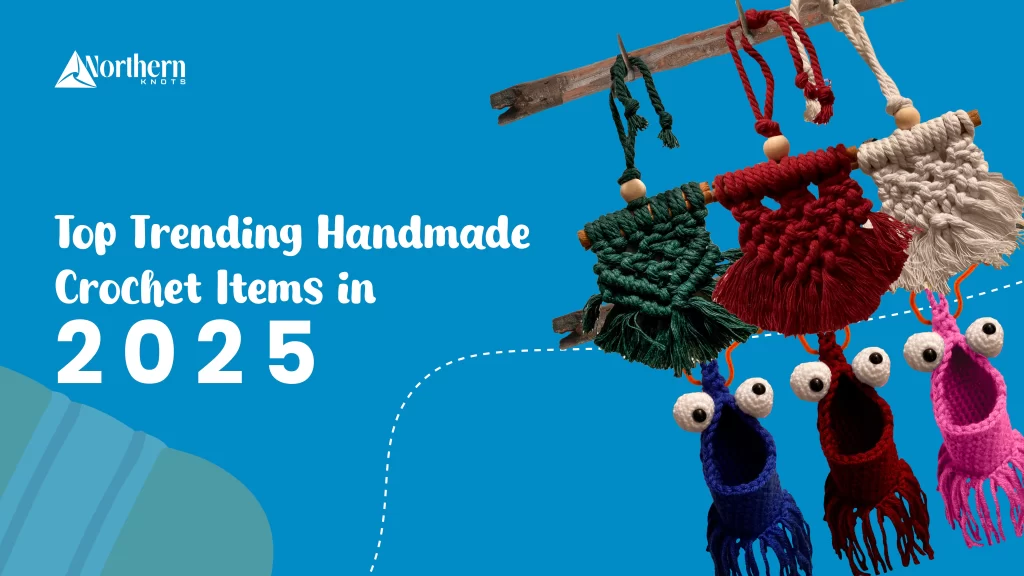
Whether you are someone who loves to stay on top of trends or just curious about where crochet craft is heading, we have collected all the top crafts that are unique and can be used as decorative items. You can also gift these handmade creations to stay cherished by your loved ones. If you are someone who loves crocheting, then we hope these trends spark your creativity and inspire you for your next crochet project. Let’s explore all the trends in categories and see what’s hot in the world of hook and yarn! Home Decor Crochet Creations If you are looking for unique and personalized crochet creations that brighten up your home, then these items are SOARING! 1. Artisan Wall Hanging Artisan wall hangings are eco-friendly and add a personal touch to your walls. This decor hanging features colorful macramé feathers crafted with natural yarn. These are created with a series of cords onto a wooden dowel to form a base, then the feathers are shaped to create a dense pattern. Unlike any other wall hanging, it is easy to install/uninstall, fits in small spaces, can be used indoors or outdoors, and can even be used all year round as a decorative wall art feature. And it is a must-have! 2. Crochet Hand Towel Towels are important for personal hygiene, and some towels made of rough materials can cause skin irritation, which is really bad! Since handmade towels are always out of stock because everyone prefers to have something real, you can save one for yourself at Chaotic Creations. Unlike the towels that are produced in mass quantities, our crochet hand towels are crafted with care, and they hold a special story behind them. 3. Crochet Kitchen Towel When you think of a kitchen towel, you must think of the thin linen that your grandma once used back in the day, but what is even worse than having vinyl prints on your kitchen towels? These prints can easily melt when they are exposed to heat and hinder the drying process. Thankfully, you don’t have to go through a similar headache when you purchase our crocheted kitchen towels. Because the one we make quickly eases up your every cleaning drying task for you. Plus, they are made up of original cotton yarn and won’t hold any dirt or stink as long as you keep washing them. These handmade crafts serve as pot holders, trivets, and oven mitts to protect your hands. Moreover, their multi-purpose nature makes it valuable to be in the kitchen, saving both your money and your time. 4. Crochet Plant Hangers Crochet hanging plants not only add beauty and freshness to a place but also indoors; hanging plants don’t take up floor space or tabletops. You can keep them out of the reach of curious kids and pets. The best thing about these plant hangers is that they add great color and drama to boring corners or awkward spaces in your home. These plant hangers are amazing especially if you’re looking for something to fill window boxes or want something to get displayed, like a colorful collection of patio plants. 5. Rectangle Granny Square Blanket A handmade blanket’s ability to keep you warm is fundamentally linked to its material and construction, which collectively form an insulating barrier that traps body heat. We all know how cruel winter can get sometimes, and we are left with unhappy cold feet in bed for the rest of the night. With our crocheted granny square blanket, you can save you from big electricity bills by keeping your bed warm because no one likes to climb icy sheets after a long day. This blanket is made up of 100% cotton yarn, which is better than retaining heat, and they are sumptuously soft for a soothing night’s sleep. They are a must-have to keep you cozy throughout the night. 6. Crochet Baby Blankets Every new parent should equip themselves with at least one baby blanket because they keep their little one warm and comfortable. Introducing your kids to handmade crochet blankets not only creates an attachment, but they feel a sense of security every time they sleep. These cozy companions provide warmth and wrap your children in comfort. These blankets help them sleep well and keep the scary dreams away. They are soft and made up of premium yarn to form a feeling of cuddles. Your baby requires sweet naps, and getting one of these blankets will only provide you with so much-needed peace of mind. Thoughtful Handmade Gifts for All Occasions Surprise your loved ones with unique handmade, unique crochet gifts that show care and creativity. 1. Emotional Support Poptart Crochet Pop Tart Pals are delightful handmade toys designed to capture children’s imagination and creativity. With their vibrant colors and charming designs, these pals offer a screen-free play option, allowing kids to engage in imaginative storytelling and role-playing adventures. They can become fun companions during playtime, which fosters creativity. These toys provide a sense of comfort for your children. Their gentle textures are ideal for little hands, and these companions are there when they need a hug. Also, these pop-tart pals are sure to bring a smile to anyone’s face. Their playful personalities and friendly demeanor will make this emotional support your new favorite instantly. 2. Handmade Gnome Ornament These charming little creations are not only visually delightful but also encourage imaginative play. Handmade Gnome Ornament brings a whimsical touch to any surroundings. Their playful presence adds charm to mantels, shelves, or holiday displays, making your environment more inviting and vibrant. Integrating them into your space can create warmth and positivity while promoting sustainable and meaningful decor choices. 3. Handmade Keychains Handmade keychains are always considered “cool.” And macrame keychains have become a part of the trend for everyday use. Your keys will never be lost with these handmade keychains that are pocket-friendly and come in many designs and colors. These keychains can also be personalized with different knots, beads, and tassels,
Finding the right kitchen towels can be a struggle. They are either too flimsy, do not absorb well, or they lack any character. Crochet hand towels solve all of these issues. They are not just practical, but are made from durable, absorbent materials like cotton. The cotton makes sure they perform well for drying dishes, wiping up spills, and adding a personal touch to your kitchen. However, making your very own crochet towels is an affordable and rewarding way to update your space. If you are willing to invest a little time and patience, this simple project will give you both beauty and function in your kitchen. Why Choose Handmade Kitchen Towels? Kitchen towels that are crocheted by hand can be a great way to make your kitchen feel like home and help the environment. Making a crocheted towel involves making something that is both practical and strong, and it can be used for different tasks such as drying the dishes, cleaning hands, and cleaning up minor accidents in the kitchen. Not only are crocheted towels more effective than those that are store-bought, but you can also select your needed materials and patterns that will complement the colors and themes of your kitchen. How to Make a Crochet Kitchen Towel & the Tools You Need The very first step in crocheting your kitchen towel is to collect a few basic tools and materials. This is what you shall need to begin: Crocheting Tools and Materials Yarn Make sure to go for yarn that absorbs water and it is also strong enough to withstand wear and tear. Cotton is the best choice for crocheting towels as it is highly absorbent, soft, and is easy to work with. Crochet Hook The choice of the crochet hook is determined by the yarn that you choose. A good size to start with for most cotton yarn is a 5.0mm or 6.0mm hook. Scissors Scissors for cutting the yarn. Tapestry Needle Tapestry Needle for weaving in the ends after finishing your crochet towel. Basic Crochet Stitches The chain stitch (ch), slip stitch (sl st), single crochet (sc), and half double crochet (hdc) are the most common stitches you can use to crochet kitchen towels. They are all easy to learn and great for beginners. Why Do We Use Kitchen Towels? Kitchen towels are a must in every home. They serve multiple functions, including: Drying Dishes Cloth towels in the kitchen are the best tool when you need to dry your dishes, utensils, and cups right after washing them. Cleaning Spills They help to quickly clean up spills or wipe down counters and tables. Hand Towels Hand towels, especially those which are made of crocheted material and are usually hung on toaster racks or hooks on the wall, are the perfect item which can be used for drying wet hands. Decorative Pieces Handmade towels can also be used as decoration in the kitchen by adding texture and color, updating its look. On top of being functional, crochet kitchen towels are eco-friendly, reusable, and a great way to reduce waste by eliminating disposable paper towels. How to Use Handmade Crochet Towels Once you’ve completed your beautiful crochet kitchen towel, it’s time to use it! Here are some ideas on how to make the most out of your handmade towel: Hang it by the Sink Crochet handmade towels can always be hung on hooks or towel racks by the sink, and they provide easy and quick access for wiping and washing the dishes and cleaning up the place. Use It as a Hand Towel Crocheted hand towels are perfect for drying hands after washing them in the kitchen or bathroom. Gift it Crocheted handmade towels are wonderful, considerate presents for friends and family. Pair it with a matching potholder or dishcloth for a lovely homemade set. Crochet Hand Towel for Beginners If you are new to crocheting, a crochet hand towel is a great beginners project. Here is a simple step-by-step guide for creating your first crochet kitchen towel: Start with a Foundation Chain Begin by making the chain, with a row of about 30-40 stitches, depending on the width as desired. Work in Rows Turn your work and start crocheting in rows. You can also use a half double crochet for a very simple textured fabric. Or, you could choose a double crochet of the same color to give an additional texture. Continue Until Desired Length Keep crocheting until your towel becomes the length you wanted. You would also be adding a decorative border to the towel by putting slip stitches or single crochets along the edges. Finish and Weave in Ends Once you are happy with the size, finish off the work by cutting the thread and then using a tapestry needle to weave in the loose ends. This simple pattern will allow you to make a soft, absorbent towel that you can use in your kitchen or bathroom! Frequently Asked Questions Q: Can I use any yarn for crocheting kitchen towels? A: It’s best to use cotton yarn for kitchen towels, as it is highly absorbent, durable, and washable. Q: How do I ensure my crochet towel is absorbent enough? A: The key is to use cotton yarn and to crochet with tight stitches to create a more solid fabric. Make sure you use a suitable yarn weight and gauge. Q: Are crocheted kitchen towels machine washable? A: Yes! Cotton yarn is machine washable, making your handmade towels easy to care for. Just wash them on a gentle cycle and avoid fabric softener to preserve absorbency. Q: How long will it take to crochet a kitchen towel? A: The time will depend on your skill level, but most people can complete a simple kitchen towel in a couple of hours, especially if it is their first time.
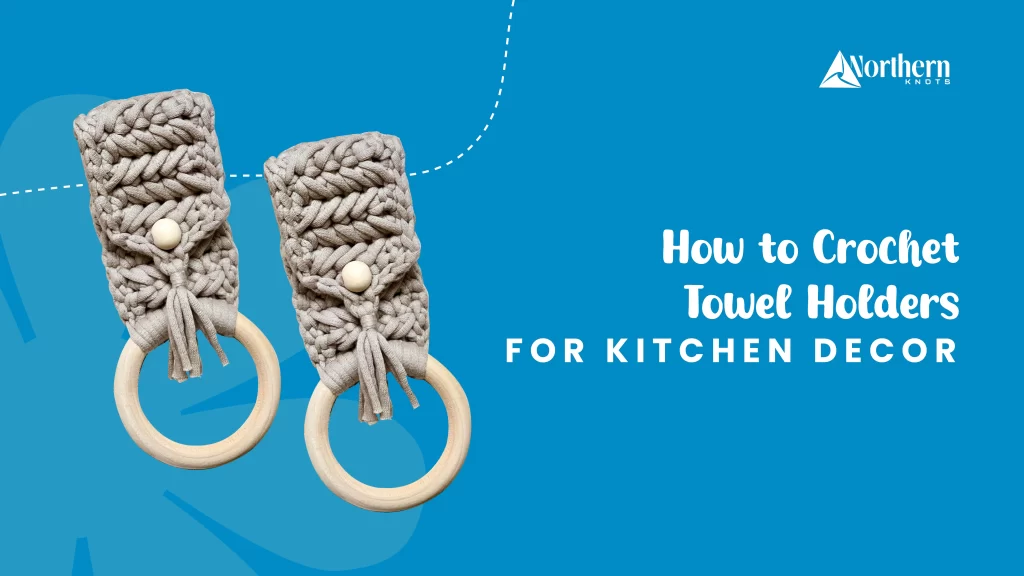
Crocheting is a beautiful form of creativity that adds a unique charm to any space. It’s not just a craft but a gesture that brings a sense of tranquility and warmth. If you’ve adorned your home with crocheted decor, you’ve experienced the peace they bring. Now, let’s embark on another simple yet inspiring project: a crochet towel holder. We all know the frustration of a kitchen essential falling to the floor. The worst part comes after it, which is using that towel to clean your hands or dishes. That’s where a towel topper or ring comes in, providing a convenient spot to hang your towel. This simple tutorial on crocheting a towel topper is here to make your life easier. What is The Purpose of a Crochet Towel Hanger? A crochet kitchen towel holder is an object that fuses fashion with functionality in a way that store-bought items simply cannot. It keeps your kitchen towels in order and decorates your kitchen with your own personal touch. They can really be very handy for holding up towels and not letting them drop on the floor. Things You Need When Crocheting Towel Hangers Before you start, ensure that you have the following: How to Crochet a Simple Towel Holder If you’re new to crochet, this is a great project to start with! It’s simple, forgiving, and uses just a few basic stitches like the single crochet and slip stitch. Follow these easy steps to create a practical and stylish towel holder for your kitchen. Step 1: Create The Towel Loop Let’s begin with how you would like your towel to be held with the holder. A loop-style holder is easy to make and handle because you can easily slide the towel in and out. Step 2: Create a Foundation Chain Begin with a slip knot. Create it using your yarn, leaving a 6-inch tail. Put the loop on your hook and pull it tight. Then, yarn over (wrap the yarn over your hook) and pull it through the loop on your hook to make a chain stitch. Make 25–30 of these. The loop size will depend on the handle thickness you want. Stick to 25 for thinner handles, and for thicker rods or hooks, go up to 30 or more. Now that the chain is formed. Lay it flat to ensure it isn’t twisted. A twisted chain can make your project uneven. Step 3: Crochet Rows Skip the first chain next to your hook (this is your turning chain). Insert your hook into the second chain, yarn over it, and pull through the chain. You’ll have two loops on your hook. Yarn over again and pull through both loops. That’s your first single crochet stitch! Continue all the way across the chain. Once you have worked the last single crochet stitch across, chain one, turn your work so that you can start working in the opposite direction. Now, continue with the single crochet stitches across every row. Repeat for about 3–4 rows until your strap feels strong enough to hold a towel. Step 4: Form The Loop Fold your strap in half to create a loop. Then type the ends. You can slip-stitch the two ends of the strap together. Hook your hook into a stitch from one end of the strap and then into the matching stitch on the other end. Yarn over, pull both stitches through, then pull through the loop on your hook. Repeat until the ends are entirely tied together. You can add a button here and leave the other end open. Optional Tip: Join the ends at one point or add a button. Leave an end open, skip a couple of stitches back in the row, and sew on a button to make a buttonhole. Then, end with an easy-to-use open-and-close connection. Step 5: Add The Final Touches Add an extra decorative step to your towel holder by completing a picot border. When the loop is complete, chain three, slip stitch in the same stitch, skip one, and repeat. You can also crochet your towel and the topper over a wooden ring. It looks adorable and adds a sleek touch to the final project. Start by making a slip knot on the ring. Then, work single crochet stitches all around the ring to completely cover it. Sew or use slip stitches to attach the wooden ring to your strap. Step 6: Hook The Towel Next, fold your towel, slide it through the final loop, and pull the towel through it nicely. Your crochet towel hanger is ready now! You can customize it to your liking, like adding colors using different yarns or adding any other embellishments you like. Grab your hook and yarn and start creating a practical yet beautiful addition to your kitchen today. With just a little effort, you’ll have a handmade piece that’s useful and uniquely yours! Frequently Asked Question 1. Can I use leftover yarn for this project? For sure! Grab all of the leftover yarn and start crocheting. Towel holders are the best projects for using up scrap yarn. Stay evenly consistent throughout the process, and knot every end tightly with the next start. You will be left with a funky towel hanger that you will love at the end! 2. How do you attach the towel to the holder? The easy way is to slip the towel through the loop; otherwise, you can sew the holder right onto the towel with a tapestry needle. Or you can also crochet it with a wooden ring to add a vintage vibe to it. 3. What should I do? My towel holder stretches out. You need to stay firm with the stitches and keep them tight. High-stress areas like loops and buttonholes will remain unbent and not stretched. Remember to trust the process and continue with consistency. 4. Are crocheted towel holders long-lasting? Yes, crocheted towel holders are very long-lasting when made of good-quality yarn, and proper techniques can be followed. Even if